3. How to Make Storyline Interactive [without Code]
The fastest way to lose a learner is making them watch or read instead of do. Storyline’s interactivity tools transform boring content into engaging, hands-on learning. Strategically placed interactions can positively impact learner retention levels, and increase their satisfaction with your course. Luckily, Storyline makes adding interactive elements very easy. Let’s take a look at some of the basics.
Buttons. Hotspots, and Markers
Some of the easiest interactive elements to add, buttons, hotpots, and markers are also incredibly versatile.
Buttons: buttons can be used to trigger an action like “Next”, “Submit”, or “Learn More.” Buttons are highly customizable so you can change the shape, color, font, wording, and placement of any button.
Hotspots: these are invisible areas that are clickable. It is a way to make an asset in the course function like a button. You can, for example, lay a hotspot over part of an image that you want the user to click on, and this can trigger an action, just like a regular button. Hotspots open up endless possibilities.
Markers: Markers are a mechanism that show a pop-up when clicked or hovered-over. This is a great way to provide more detail on a slide. Markers are very customizable, and can be employed for a variety of uses. Imagine a map with a few markers. When the user hovers over the marker a pop-up appears with information about that specific location.
Custom Navigation
Another way to add interactivity is to add custom navigation to your slide. You can easily move beyond the basic next buttons that are on the Storyline course player. When I talk about custom navigation, I mean things like clickable menus, linking buttons to specific slides, slide layers (more on those later), or even to external sites. You can also create explorative learning paths, where the user is navigated to a different area of your course depending on what they click on or interact with.

The buttons on the left are a custom navigation. They involve using triggers to show a layer when the user clicks the tip number.
States, Layers, and Triggers
States, layers, and triggers are the ingredients for creating explorative or scenario-based learning, games, and simulations. Lets learn more:
Triggers: Mechanisms that make something happen on your slide based on an action (taken by the user) or an event within your course (like an audio clip ending.) The logic goes something like this: if learner clicks A, show B
States: Change object appearances. The appearance often changes based on a trigger. For example, if the learner clicks button A, set the state of button A to visisted. In this case the state “visited” changes the color of the button. So another way of saying this is, if the learner clicks button A, change it’s color from blue to grey (for example)
Layers: Show additional content without leaving the slide. This allows you to build a deep slide around a specific topic, and can create a more seamless experience for the learner.
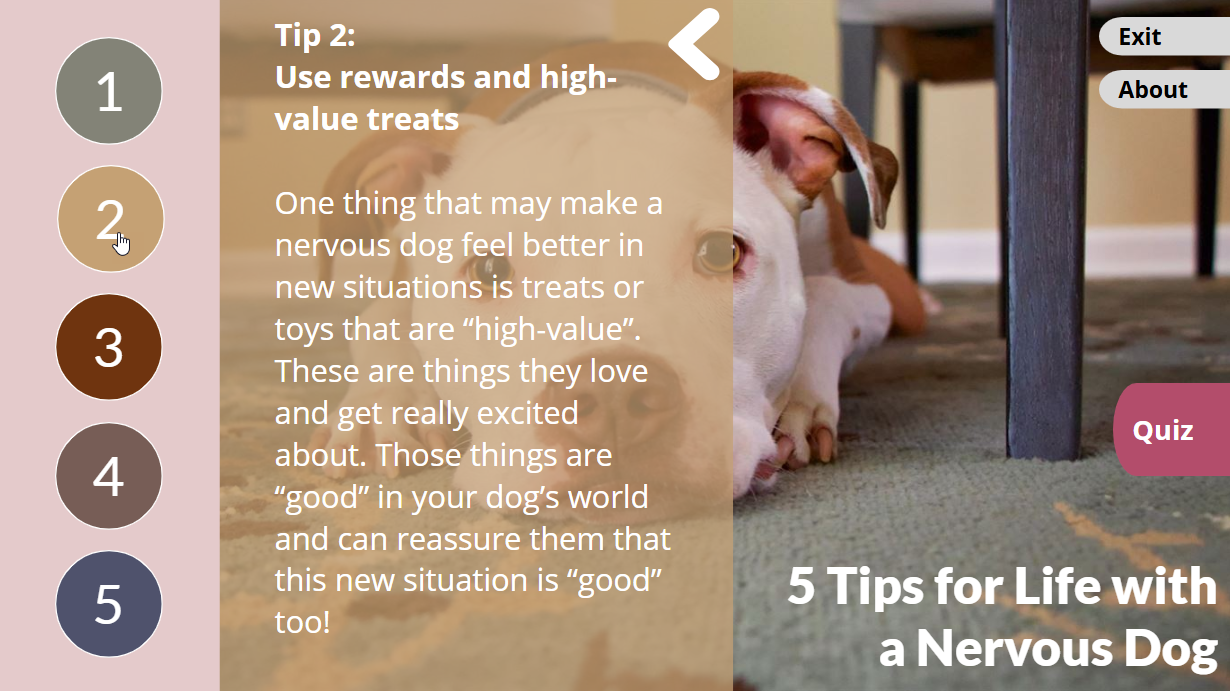
The “tips” in this course are executed using layers, rather than jumping the user to another slide.
Branching Scenarios
When the learner feels like they are in control of the course, and shaping their own experience, they are often more engaged in the process of learning. Branching scenarios are a great way to accomplish this. Some examples are:
Decision trees
Personalized learner paths
Realistic role-play activities
Although I call these out as separate interaction types, in reality these are all created using combinations of states, triggers, and layers, buttons, hotspots, etc. Here are some great examples: https://community.articulate.com/blog/challenge-recaps/19-e-learning-branching-scenario-examples-with-story-maps-325/1143963
Slide Properties
Although not technically “interactions” in the sense we’ve been using previously, there are some general built in controls that impact how students are able to interact with your slides and your course in general. You can use slide properties to set your navigation to free or locked. With free you learners can click through on your course and slides in any order they wish. In locked, the must visit a slide to unlock the subsequent slide, forcing them through the course in a sequential order. Slide properties also allow you to decide what happens if a learners revisits a slide. Will it restart (and reset any interactions) from the beginning, or will it resume where they left off?
Summary
You should now be able to:
✔ Create clickable buttons
✔ Trigger layers and content
✔ Build basic branching
✔ Control learner navigation