2. Build Your First Slide in Storyline 360
Now it’s time to roll up your sleeves and create actual slides. In this post, you’ll learn how to structure, design, and populate your first Storyline slides. First it’s important to say that, yes, you can import Power Point into Storyline, and many people do. For purposes of this post I’m going to talk about creating directly in Storyline.
Create a Blank Slide
I believe to fully understand the capabilities of Storyline you should be able use all of it’s features and functionality, and the most basic of which is creating a slide.
To create a slide we need to:
Open Storyline
Select new project (Storyline will give you one untitled scene containing one blank slide)
Double click on that slide to enter the editor
Use the Slide Master
Like PowerPoint, Storyline has a Slide Master. Make use of this. It will make your production faster and create consistency within your designs. For example, if you want a slide number of every page, put it in the Slide Master. I also put any design elements that repeat on slides (like a company logo, fonts, colors, graphics etc.) within the Slide Master. Even though you are just starting out, get in the habit of utilizing the Slide Maser whenever you can. It will help you become more agile as your designs become more sophisticated.
Add Texture and Interest with Text, Shapes, Images & Videos
Use the Insert tab to:
Add text boxes
Insert shapes, buttons, images
Insert video or audio files
Pro Tip! Don’t be afraid to play around! When I am exploring a new feature or function I always create a test Storyline file and just try things out. That is the absolute best way to get familiar with the tool. Having a test file means that you can explore without fear of impacting an existing course, and if you do something amazing in your test file you can always copy it or insert it into your actual course. Create your own test file, add some text boxes, insert and recolor some shapes, insert or record an audio file and have fun!
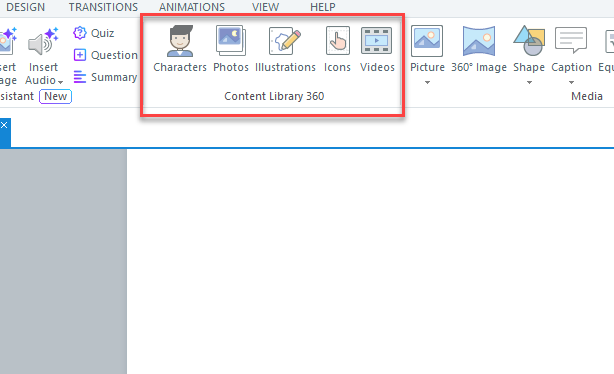
The Content Library
The content library is a not-so-secret weapon when designing a course. It contains many different assets that you can use in your courses. You can insert a variety of different characters (in Storyline a character is representation of a human being that you can use on your slides) both illustrated and photorealistic. There are photos, illustrations, icons, and videos at your disposal. You will find the content library in the insert tab.
Slide Templates
You can insert pre-designed slide templates into your course. I do think it is very valuable to know how to design a slide without a template, but templates can be a great time saver and are worth knowing about. From the home tab, hit the down arrow by “New Slide” and select “Content Library 360”. You will see a wide variety of different template options.

Importing Existing Content
Already have PowerPoint slides? You can import them directly! Storyline converts them into fully editable slides. You will hear that all text, shapes, and images are preserved, and for the most part this is true. I will note that you should visit every slide, to make sure that things are just as you want them. There can be some refinements that need to be made after importing.
A few tips:
You will have much better results if your PowerPoint slides and your course slide are the same dimensions (e.g. 16:9)
Visit every slide after importing, there are often refinements that need to be made
Use the Slide Master to make tweaks that you want to implement across the course
Summary
By now you should be able to:
✔ Start a project
✔ Create and design slides
✔ Insert content
✔ Use assets to polish your work